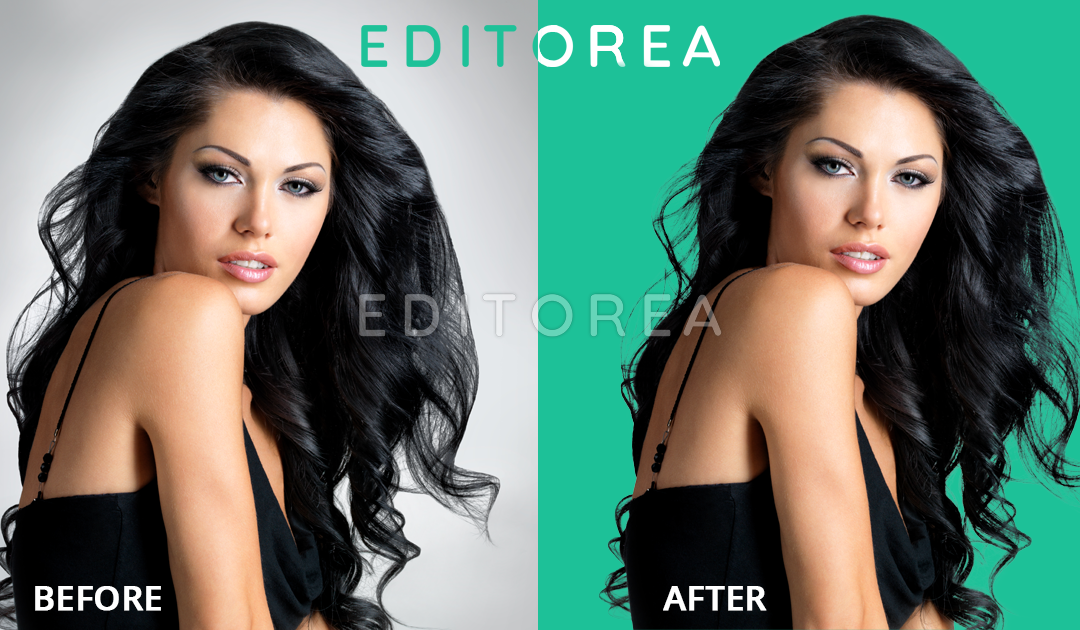
Masking or Background Removal by using Refine Edge Tool
Photoshop Masking denotes to be one of the basic image processing operations. It is an important substitute of Clipping Path Service for removing or replacing the background of a complex image containing numerous turns and curves with soft, unclear/blurred part, hair portions or fuzzy edges. It is used to eliminate or extract object from the picture. The technique is very suitable when Clipping Path alone cannot give accurate details of soft, complicated areas like in hair, fur, glasses, plastic bottles, smoke, lighting and transparent objects. Usually, clipping path is done in hard and defined edges using Photoshop pen tool whereas masking is the complete solution of Background Removal for soft and fuzzy looking edges in order to get smoother, sharper and more pronounced edges that ensure high quality and wonderful level of details as required.
Step 1: Create Path inside the edge using Pen Tool

Step 2: Create a new layer and fill any color

Step 3: Select the path and Add layer mask

Step 4: In the menu bar, click on Select and then in dropdown menu, choose ‘Select and Mask’

Step 5: Reduce the transparency to 60%

Step 6: Select the Refine Edge Brush, press the left key of the mouse and slowly move the are of the hair

Step 7: then click OK

Step 8: Press the ‘Alt’ key and click the layer mask thumbnail

Step 9: Here you can see the white Dust, Fill black part with Black and white part with White using the Brush

Step 10: The Dust of the Black part and White part should be clean

Step 11: Press ‘Alt’ and click the layer mask thumbnail for back to the image and finally the background is removed using Refine Edge Tool
